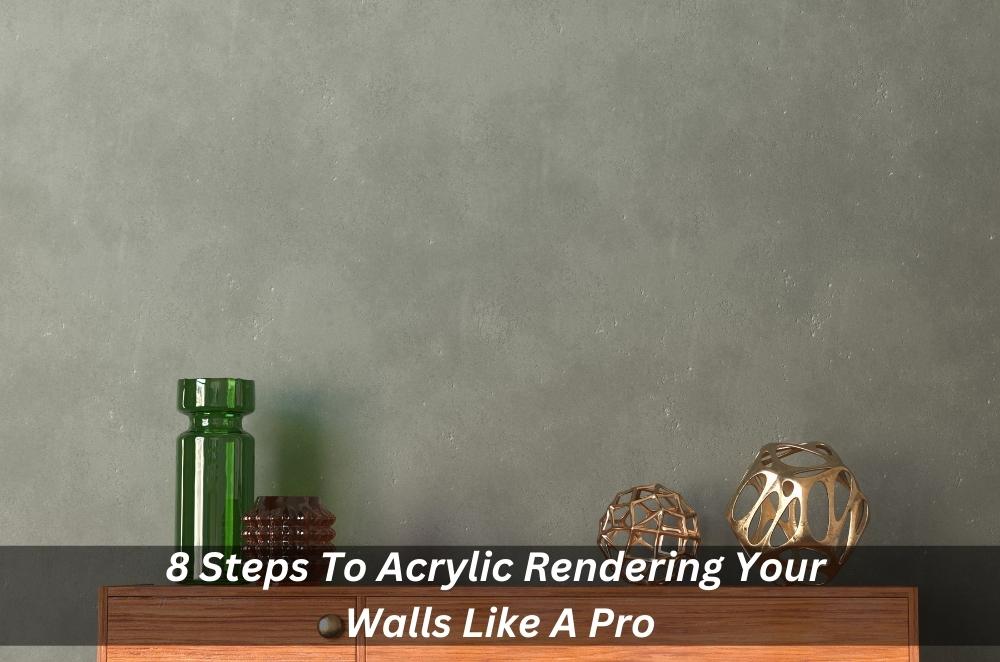

Acrylic rendering is a popular technique used to improve the appearance and durability of walls in homes and other buildings. It involves applying a layer of acrylic-based coating onto the surface of a wall, creating a smooth and attractive finish. If you’re considering acrylic rendering for your walls, here are eight steps to help you achieve professional results.
1. Prepare the wall
Before applying acrylic render, it’s important to prepare the wall surface properly. This typically involves cleaning the wall to remove dirt, dust, and debris, repairing any cracks or holes, and applying a primer or bonding agent to ensure proper adhesion of the render.
2. Choose the right acrylic render
There are different types of it available, so it’s important to choose the one that’s best suited for your specific project. Consider factors such as the type of substrate (e.g., brick, concrete, fibre cement), the desired finish, and the climate conditions in your area. Consult with a professional or a supplier of rendering services in your area, such as an acrylic rendering Sydney specialist, for expert advice on the right render for your needs.
3. Mix the render
Follow the manufacturer’s instructions for mixing the render. It’s important to achieve the right consistency, which is typically a smooth and lump-free mixture. Use clean water and mix thoroughly to ensure proper hydration and adhesion of the render.
4. Apply the base coat
Start by applying a base coat onto the wall using a trowel or a rendering machine. The base coat serves as a bonding layer and helps to create a smooth and even surface for the topcoat. Apply the render evenly, making sure to cover the entire wall surface.
5. Create different finishes
Acrylic rendering offers a wide range of design options, as it can be used to create different finishes. You can achieve different textures and patterns by using different tools, such as a trowel, sponge, or brush, to manipulate the render while it’s still wet. Experiment with different techniques to achieve the desired finish for your walls.
6. Allow for drying time
It is known for its fast drying time, which is one of its advantages over traditional cement render. However, it’s still important to allow for proper curing and drying time to ensure the best results. Follow the manufacturer’s instructions for the recommended drying time, which can vary depending on the type of acrylic render and the climate conditions in your area. Avoid premature painting or finishing, as it can affect the quality and durability of the render.
7. Inspect for cracks
Once the render is fully cured, inspect the surface for any cracks or imperfections. This is less prone to cracking compared to cement render, but it’s still important to check for any signs of damage. If you don’t know how to fix hairline cracks in rendered walls, consult a professional or a supplier of rendering services in your area.
8. Consider long-term maintenance
It is known for its durability and low maintenance requirements. However, it’s still important to consider long-term maintenance to ensure the longevity of the finish. Regular cleaning and maintenance, such as washing with water and mild detergent, can help to keep the render looking clean and fresh. Avoid using abrasive cleaners or harsh chemicals, as they can damage the render.
While acrylic rendering offers many advantages, such as easy application, fast drying time, and a range of design options, it’s important to be aware of some potential disadvantages as well. It may not be as suitable for certain substrates or environments, and it may not be as durable as traditional cement render in some cases. It’s important to carefully consider the specific requirements of your project and consult with professionals or experienced renderers to ensure the best results.
In conclusion, It can be quite a challenge to render your walls with acrylic, but with careful preparation and the right techniques, you can achieve professional-looking results. Follow these 8 steps and you should be able to successfully render your walls like a pro!


