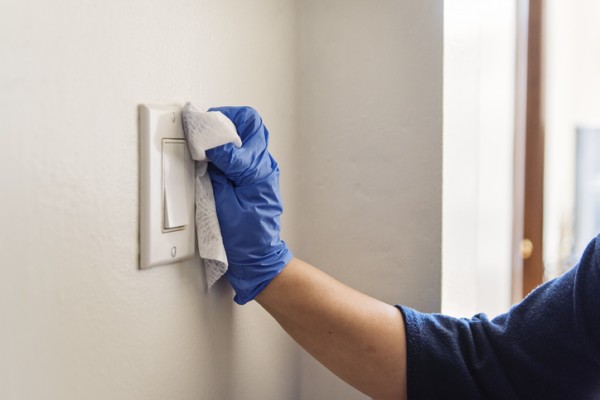
Light switches are one of the most touched — and least cleaned — surfaces in your home. Over time, they collect fingerprints, grime and bacteria, especially in high-traffic areas like kitchens, bathrooms and hallways. Giving your switches a regular clean keeps them looking good and helps maintain a more hygienic home.
But because they’re electrical components, you can’t just spray and wipe. Here’s how to clean your light switches safely and effectively.
Why light switches get so dirty
Every time you flick a switch, you transfer the oils, dirt and bacteria from your hands. Multiply that by every family member, every day, and you get the picture.
Common culprits include:
- Greasy fingers (especially after cooking)
- Dirty or muddy hands (in entryways or kids’ rooms)
- Bathroom moisture and residue
- Makeup and hairspray (in bedrooms or vanities)
And because switches are often overlooked during routine cleaning, grime tends to build up unnoticed — until you’re left staring at a yellowing plate or sticky smudge.
What you’ll need
Before you start, gather a few basic cleaning supplies:
- Soft cloth or microfiber cloth
- Cotton buds or soft toothbrush
- Mild detergent or dish soap
- Warm water
- Disinfectant wipes or spray (optional)
- Dry cloth or paper towel
Important: Never spray cleaner directly onto a switch. Liquid inside the mechanism can cause short circuits or permanent damage.
Step-by-step: cleaning your light switches
- Turn off the power
While you don’t have to switch off power at the circuit board for surface cleaning, it’s the safest option — especially if you’re dealing with older fittings or plan to get into crevices. - Dry dust first
Use a dry microfiber cloth to wipe off loose dust and debris from the switch plate. Don’t use a wet cloth just yet — dry first to avoid creating mud-like smears. - Use a damp cloth
Dampen a cloth with warm water and a small amount of mild detergent. Gently wipe the surface of the switch plate and around the edges. Take care not to press water into the switch itself. - Detail with a cotton bud
For tight spots around the toggle or rocker, use a slightly damp cotton bud or toothbrush to remove dirt from edges and seams. - Disinfect (optional)
If hygiene is a concern — like during cold and flu season — use a disinfectant wipe or lightly mist a disinfectant spray onto your cloth and wipe the surface. - Dry thoroughly
Use a dry cloth or paper towel to remove any residual moisture. Make sure the switch is completely dry before restoring power or using it again.
What not to do
Avoid the following common mistakes:
- Never spray directly onto switches — liquid can seep in and damage internal wiring.
- Don’t soak your cloth — use a damp, not dripping, cloth.
- Avoid abrasive cleaners or scourers — they can scratch or damage the plastic.
- Don’t attempt repairs if the plate is cracked or loose — call a licensed electrician instead.
When to replace a switch plate
If your switch plates are yellowed, cracked, chipped or simply won’t come clean, it may be time to replace them. Modern switch plates are affordable and come in a range of colours and styles to suit your décor.
Replacement is also a good opportunity to upgrade older switches to more energy-efficient options like dimmers or smart switches. Just remember: all electrical work, including switch replacement, must be done by a licensed professional.
Keeping your home clean and safe
Clean switches don’t just look better — they’re a simple way to improve hygiene, especially in shared spaces. Add them to your regular cleaning routine, especially in bathrooms, kitchens and bedrooms. And if you’re already doing a seasonal deep clean, take the opportunity to check for signs of wear or damage while you’re at it.


