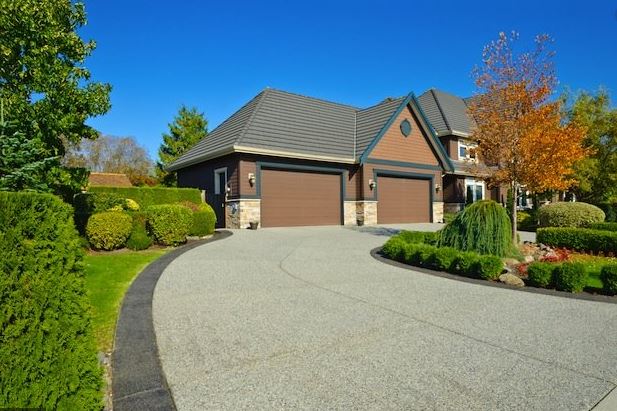

Driveways can be tricky. We use them so much that they typically get a lot of punishment. Walking, driving and let’s not forget the weather, which sometimes knows no mercy at all. And we have to understand it’s so much more than just a functional piece. It’s the first thing people see walking into your property. It’s like the business card of your entire house. You’ve got yourself that stunning two-storey building, impressive garage, beautiful car – and all that can be ruined with a cracked and weathered driveway. On the other hand, if it looks great, it elevates the vibe and appeal of your whole area. So, how to keep it in the best condition possible? What if you’re past that point and you have to give it a much-needed paint job? Let’s take a look together.
Prepare Yourself
Sure, it’s important to prepare yourself, especially mentally. But in this case, we mean the surface. It’s a non-negotiable step of any DIY painting project and the driveway is no different. You can ruin it all, and spend time and money in vain if you don’t put enough care into the preparation phase. First of all, we have to get rid of anything that threatens the level of adhesion – dirt, stains, oil, everything. High-pressure wash is a proven choice for most, but more stubborn stains can be removed with specialized cleaners. Once we’ve overcome that little challenge, it’s time to address all of the damaged areas.
Cracks & Potholes
As we mentioned, a driveway goes through a lot, which is precisely why it tends to show more wear and tear than other areas around the house. Paint sticks best to even surfaces. And we have to remember – when it comes to driveways, it’s not just about the looks, functionality is actually a top priority here. That’s exactly why any cracks, holes or damage have to be addressed before you start doing anything else. A good gap filler should do just fine. Try your best to do a thorough job. This can make or break the entire project.
Make It Count
Clearly, adhesion is the name of the game. A smooth surface happens to be its best friend, so the first step is to sand it thoroughly. Then, grab yourself some good concrete sealer or an etch primer to make sure the concrete surface has an adequate level of protection. If you skip this step, you’re running a serious risk of ruining the entire project. The sealer does a few things – it helps adhesion drastically while also making any repairs more durable and less susceptible to any weather or water damage.
Picking Your Paint
Your driveway is now ready, so the next step is picking the right colour. We’ll leave this one to you – nobody knows your property as well as you do, plus it’s all down to personal preferences. Of course, from a practical standpoint, bright colours are not a great choice, especially if you want to keep your driveway looking good for as long as possible. A quick tip here – it won’t stay that way forever. After a while, it’s simply impossible, so don’t get all hung up on minute details. There are plenty of great concrete paint types. Most people go for weather-resistant and UV-resistant epoxy paint since it offers the most durable and lasting effect combined with great chemical resistance. The finish itself is once again a matter of personal preference.
Right Tools & Time
You’ve got your paint, let’s go through a fool-proof list to make the process as easy as it gets. Paint brushes and paint rollers are simply essential. The first one is right for edges, tricky spots and touch-ups, while the other gives you a way to quickly cover as much surface area as possible in a short time. For this type of project, you could also consider paint sprayers. They’re very convenient but might be more costly in the long run. Next up – the right time. Make sure it’s a nice day, not too cold, not too hot (10 – 27°C). Otherwise, it may impair the drying and curing process. If it’s raining, or it’s very humid – just drop it. Live to fight another day. If possible, also try to avoid direct sunlight. You can now start giving your driveway a much-needed makeover and paint it however you like. Don’t be afraid to get creative with it – use decorative masonry, special glossy finishes, and more. Whatever floats your boat.
Maintenance
Congrats, you’re all done. And it looks fantastic. But how to make sure it stays that way for as long as possible? As fun as it was, you don’t want to do it again in 3 weeks. Thankfully, it’s not that hard. First off – keep it clean. Sweep it, wash it, make sure to get rid of any grime every now and then. If you spot any imperfections, don’t shy away from some subtle and quick touch-ups, Also, for added protection, it’s not a bad idea to apply an extra layer of a urethane sealer periodically.
Paving the Way Home
As intimidating as it may appear at first, giving your driveway a makeover is not that difficult. Remember, preparation is key. If you do it right, the whole thing will be a breeze (or the next best thing). It’s also a great chance to learn a new skill and keep your house looking great. A stunning home deserves a stunning driveway!


