
So you’re renovating or building a new house. You’ve come up with the perfect home, the look, the feel and the vibe. Now you just need to get it out of blueprint form and into place. But… what do all these scribbles and textures mean?
Enter, hatch patterns. Traditionally drawn by hand (but now almost exclusively done digitally on platforms like AutoCAD and Revit), hatch patterns let designers explain what material or substance is going to be in a certain area of an technical drawing.
They can be used to fill enclosed areas, highlight distinct regions or create shading effects. Hatch patterns can include various combinations of horizontal, vertical and diagonal lines, as well as more complex patterns like basket weave or zig-zag.
Below are some examples of common hatch patterns and what they mean:
Earthwork and soil hatch patterns
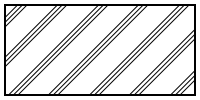
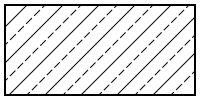
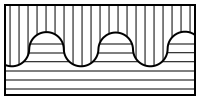 | Earth – Rock |
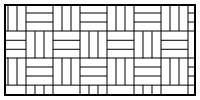 | Compacted fill |
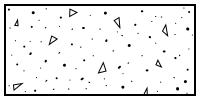
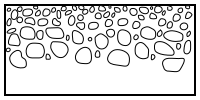 | Gravel |
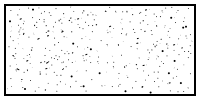 | Sand |
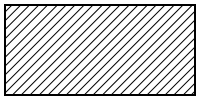
Concrete hatch pattern
 | Concrete |
Masonry and stone hatch patterns
 | Brick |
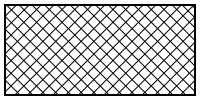 | Concrete masonry unit |
 | Grout |
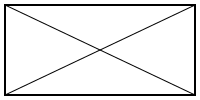
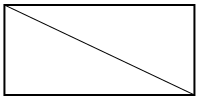
Metal hatch patterns
 | Steel |
 | Aluminum |
 | Brass or bronze |
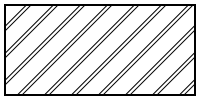
Wood hatch patterns
 | Plywood |
 | Finish wood (section) |
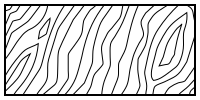 | Wood finish face |
 | Wood framing |
 | Wood blocking |
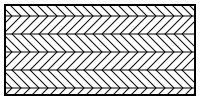
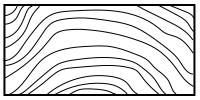
Insulation hatch patterns
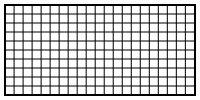 | Rigid insulation |
 | Batt insulation |


")

