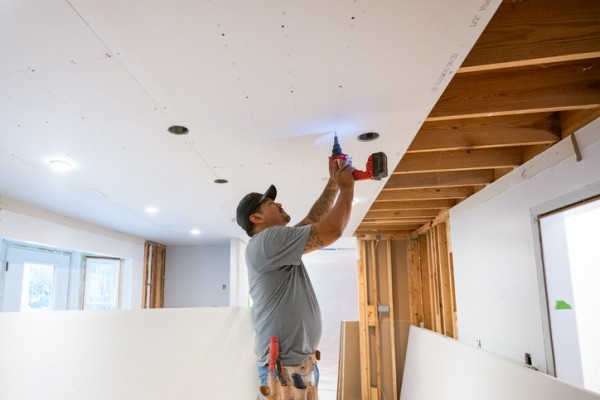
Installing plasterboard walls and insulation is a crucial phase in the construction or renovation of your home. This process not only defines the internal layout but also enhances thermal and acoustic performance. Whether you’re a DIY enthusiast or working with professionals, understanding the steps involved ensures a quality finish.
Step 1: Plan your wall layout
Before commencing, determine the exact location and dimensions of your walls. Use a tape measure and level to mark the positions of studs, ensuring they are spaced appropriately—typically 450mm or 600mm apart, depending on your design and structural requirements. For detailed guidance on wall framing, refer to our Framing Plans and Wall Sections article.
Step 2: Install wall framing
Construct the wall frame using timber or steel studs, securing them to the floor and ceiling tracks. Ensure the frame is plumb and square, as this provides the foundation for both insulation and plasterboard installation. For information on framing materials and techniques, visit our Framing Plans and Wall Sections page.
Step 3: Add insulation Batts
Insulation is typically installed between the studs to enhance thermal and acoustic performance. Common materials include glasswool and rockwool batts. Ensure the batts fit snugly between the studs without being compressed, as this can reduce their effectiveness. For more on insulation materials and their properties, refer to our Soundproofing and Insulation article.
Step 4: Install plasterboard sheets
Begin by measuring and cutting plasterboard sheets to fit the wall dimensions. Position the sheets horizontally or vertically, depending on your design preference. Secure the sheets to the studs using appropriate fasteners, ensuring they are flush with the wall surface. For a detailed guide on plasterboard installation, see our Installing Plasterboard Walls and Insulation page.
Step 5: Tape and joint the seams
Apply joint compound to the seams between plasterboard sheets. Embed paper tape into the compound to reinforce the joints. Smooth the surface with a drywall knife, applying additional coats of compound as necessary to achieve a seamless finish.
Step 6: Sand and finish
Once the joint compound has dried, sand the surface smooth to eliminate any imperfections. Apply a final coat of compound if needed, and sand again after drying. After achieving a smooth surface, the wall is ready for painting or other finishes.
Additional tips
- Safety first: Always wear appropriate safety gear, including gloves, goggles, and a dust mask, when handling insulation materials and during sanding.
- Ventilation: Ensure the work area is well-ventilated, especially when using joint compounds and adhesives, to minimise exposure to fumes.
- Professional help: If you’re unsure about any step, consider consulting a professional to ensure the job is done correctly and safely.
For more detailed information on related topics, explore our other articles:


