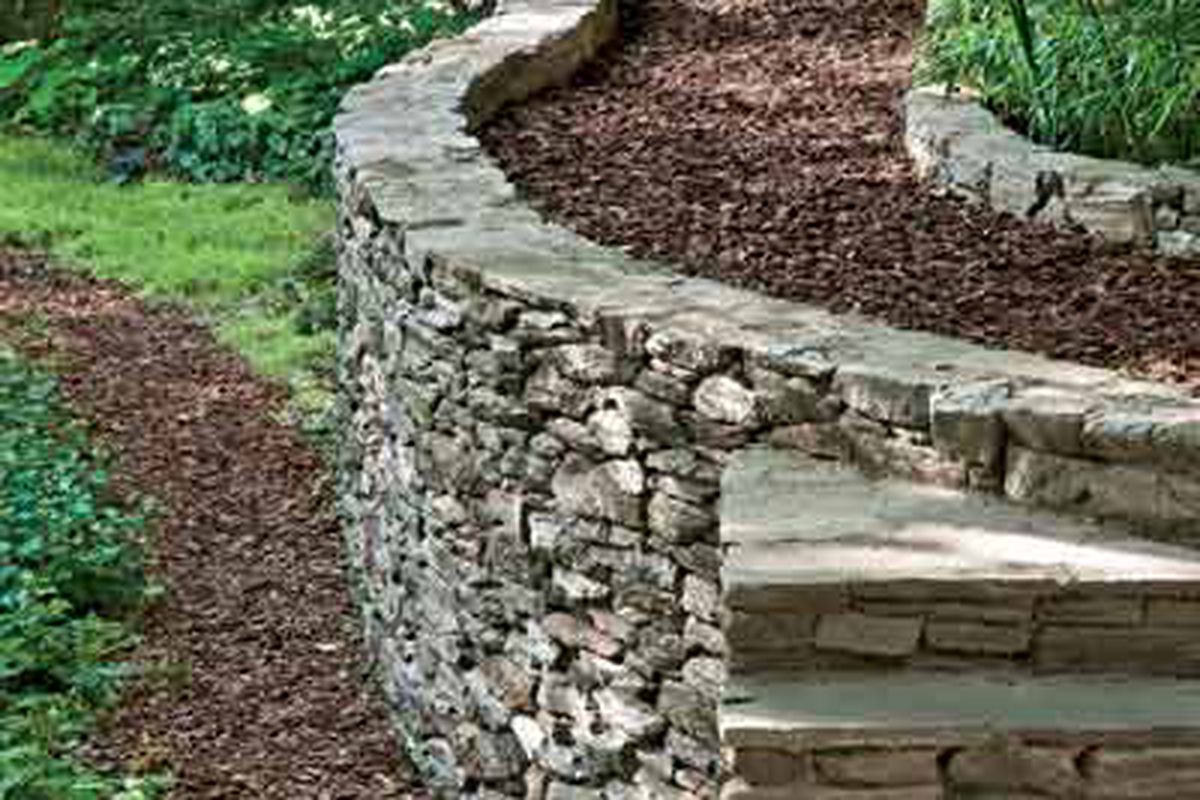
Your love for nature and hilly surroundings has persuaded you to buy a house in hilly terrain. It’s the perfect home that you had imagined, but there is a minor hick-up. The landscaping cannot be done the proper way due to soil erosion. You look-up the internet and all fingers point towards building a retaining wall to salvage the situation. After a long thought, you decide to give DIY retaining walls a shot. That’s great! However, you need to consider the following do’s and don’ts of retaining the walls in a correct way.

Remember to check with the authorities
This is obviously the first thing that needs to be checked. A retaining wall’s impact on the regular flow of water could affect your neighbours, so a few communities expect property holders to get a license before construction begins. You may need to submit plans for your wall and schedule a property inspection to guarantee that building a retaining wall won’t create drainage problems.
DO pick a material you can easily work with
Retaining walls can be built utilising a variety of materials, from poured concrete and large timbers to natural stones, even blocks. For DIY purposes, it’s best to opt on manufactured blocks of the sandstone or limestone finish that are structured explicitly for building retaining walls; a locking flange along the base edge makes a strong and safe attachment between rows.
DO begin with a solid foundation
It’s no rocket science, but your retaining wall will be as strong as its support system. Keep in mind for or a stacked-square retaining wall that is no higher than four feet, a trench loaded up with three inches of the crushed wall will help shield the wall from shifting and settling. Likewise, the exact depth of the trench relies upon the proposed height of the wall, however, adhere to this rule of thumb: Dig a trench to be an eighth of the wall plus three inches.
DON’T lay blocks on an unlevel surface
The primary row of blocks makes way for the remainder of the wall, so it’s imperative that you make it perfectly level. In case it isn’t, subsequent rows won’t be level either, bringing about a retaining wall that is disproportionate and ugly. Utilise a four-foot carpenter’s level to guarantee that the gravel beneath the main row of blocks is level before you begin setting the blocks. Any disparities here will appear higher in the wall.
DO stack blocks at a slight backwards incline
A wall that inclines into the soil it holds is more averse to be pushed outward by soil pressure than a regular vertical wall. Structure and assemble your retaining wall to slope at least pace of one inch for every one-foot of rising (height). Luckily, working with retaining wall blocks makes it unbelievably simple to accomplish this “step back” construction! The locking flange on the base edge of each block position margining it from behind the lower square, keeping the top blocks from being pushed outward.
Don’t forget to allow space for drainage
Groundwater is the common adversary of retaining walls. When it soaks clay type soils, they swell and put extreme pressure on the backside of the wall. So it’s best to make drainage arrangements while you are building the retaining wall. Inlaying the space behind the blocks with squashed stone and afterwards installing a flexible perforated drain pipe will help carry groundwater to each end of the wall where it can drain harmlessly away.
If these tips are followed correctly then you will have a retaining wall that will stand the test of time. And if all else fails then you have Strong Lock to fall back on to complete your build or make you a new one. So be sure to contact them.


